If It's Baroque, Don't Fix It

August 21, 2020
If It's Baroque, Don't Fix It

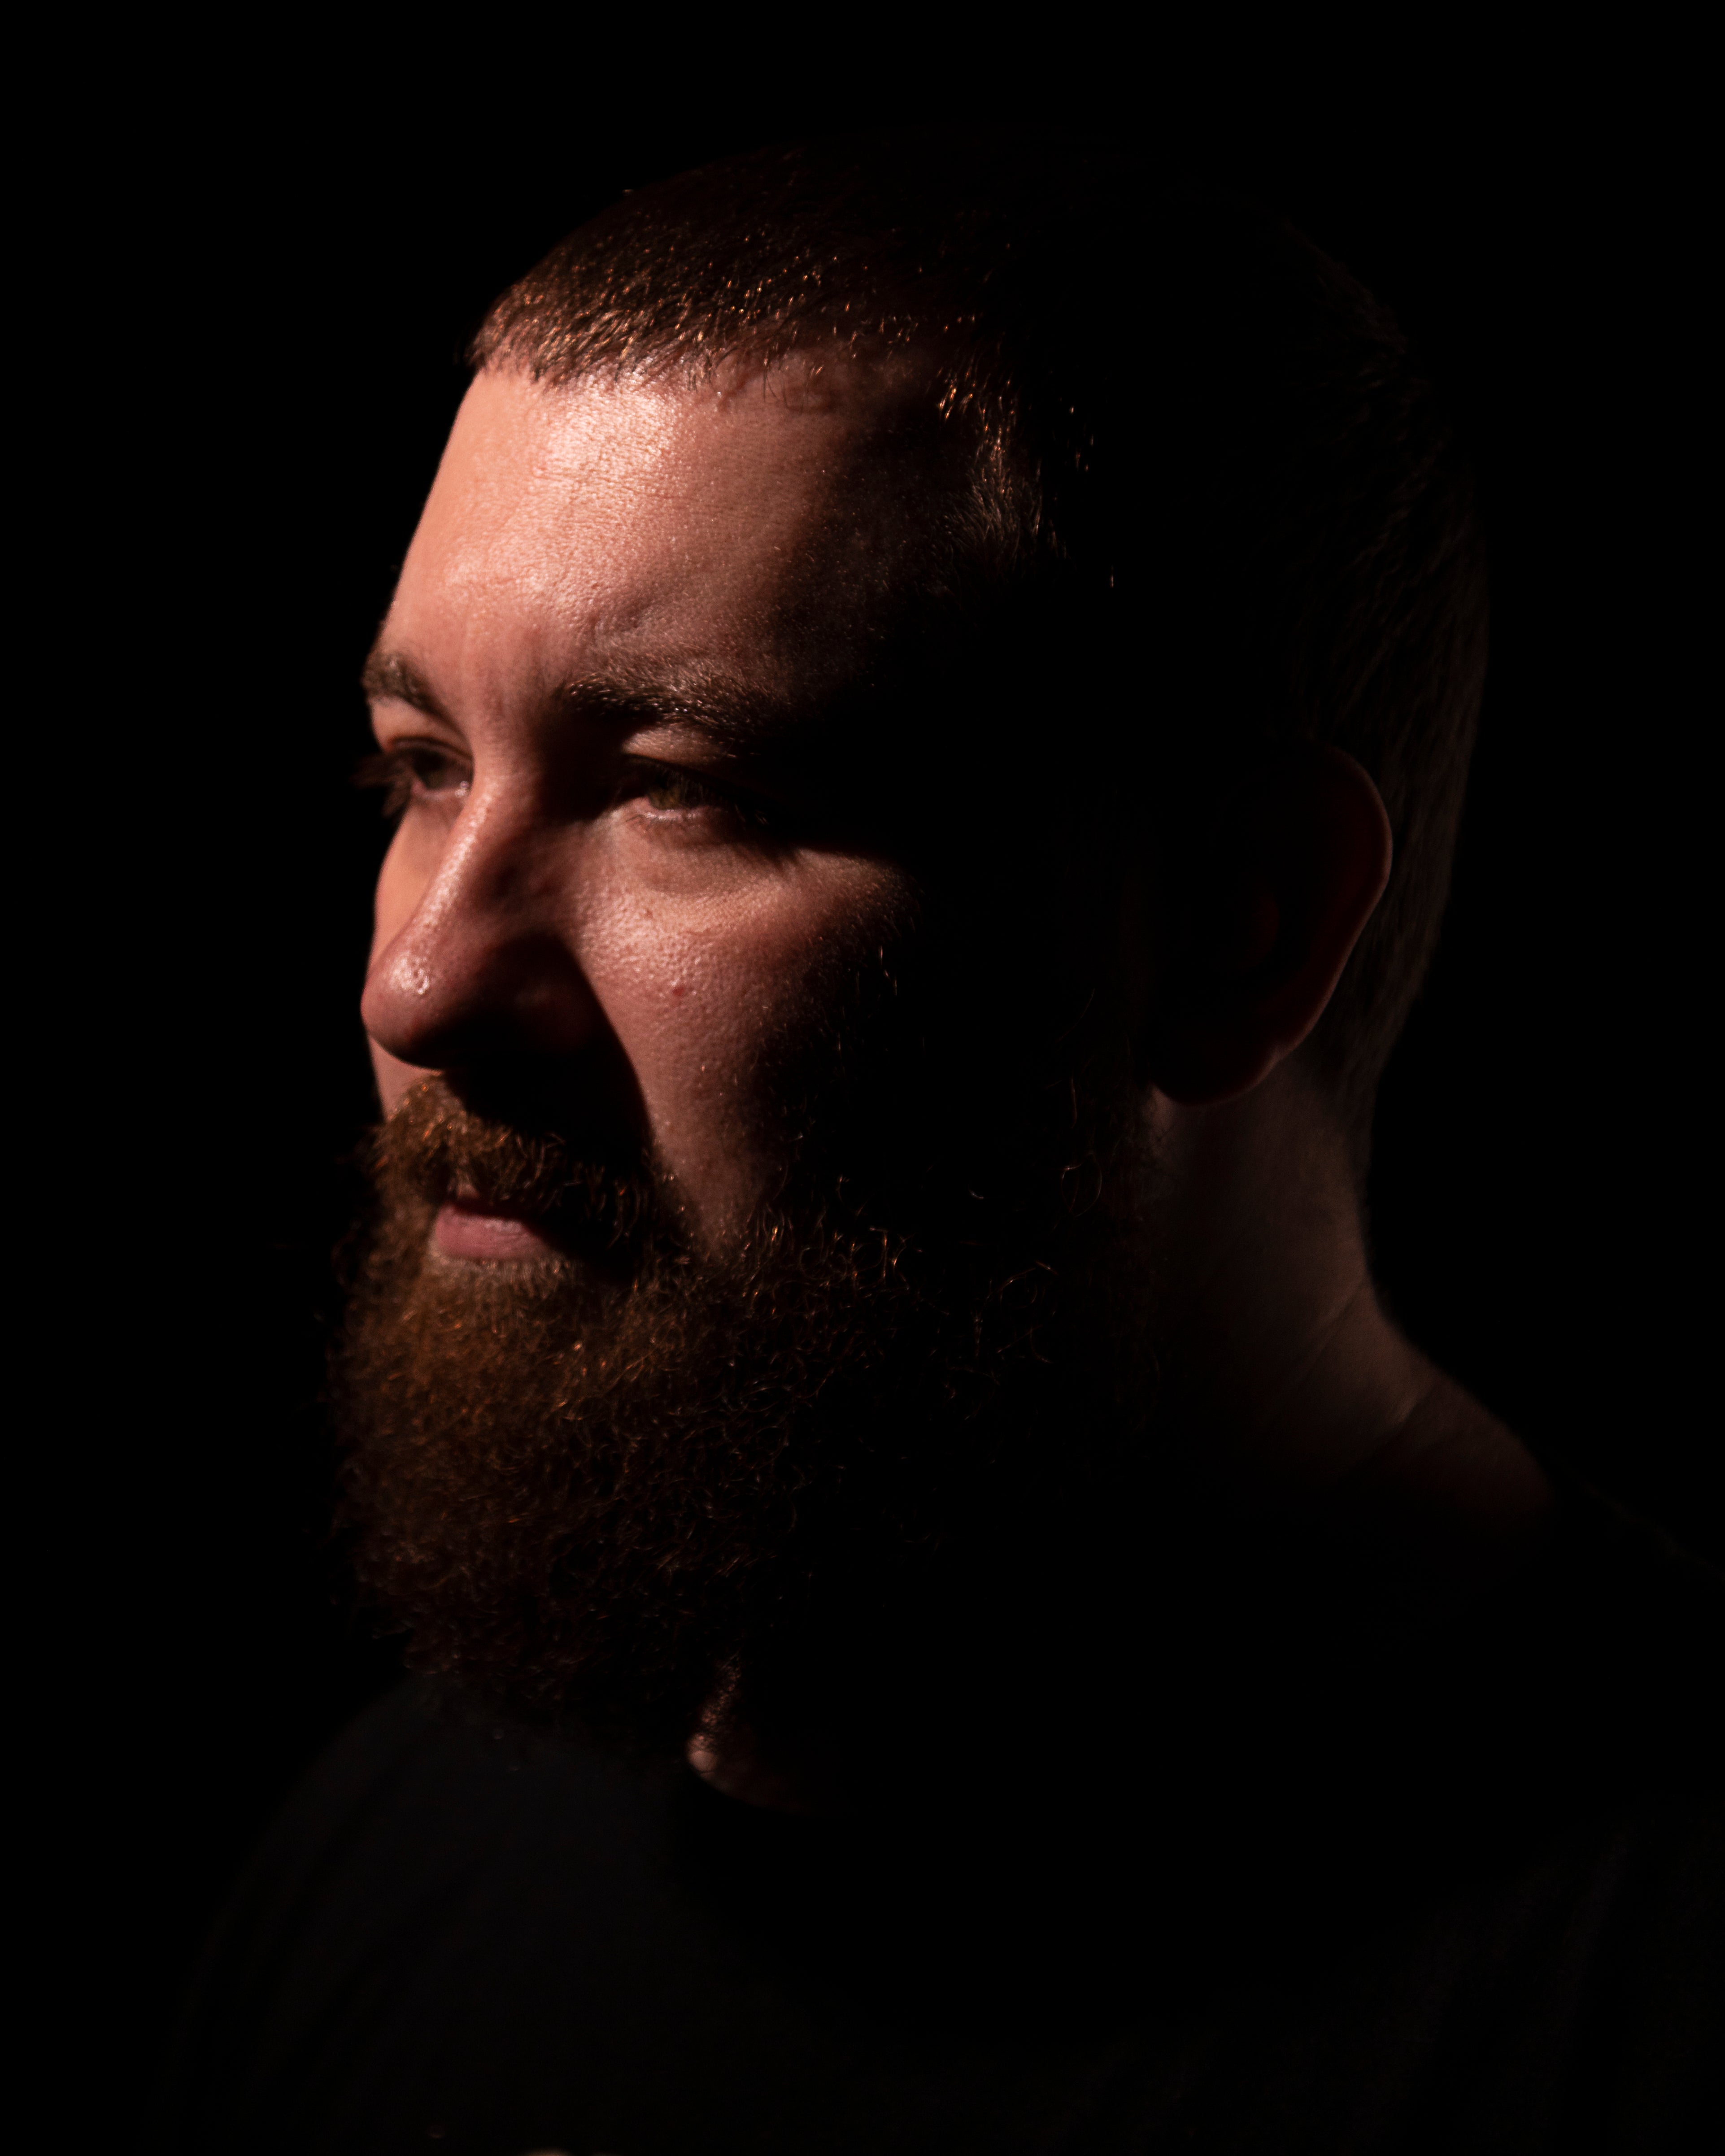
Lighting isn't something utilized only by photographers and videographers. Lighting is necessary for anyone working with visual media. Painters have been using light and shadow to entice viewers and emphasize the subject of their work for hundreds of years. Some techniques we use today are borrowed from some of the old masters. In this post, we'll explore and break down Rembrandt lighting.

Rather than using soft, even light to illuminate the entire face, Rembrandt lighting pulls strength from dramatic contrast. Typically, you'll know it's Rembrandt lighting when you have one side of the face fully-lit, as well as as a triangle on the cheek below the subject's eye, circled in red:


Self-Portrait with Two Circles, by Rembrandt Harmenszoon van Rijn, 1665–1669

You could certainly over-engineer this set-up by using two lights: one key light on the side, lighting half of the subject's face, and a secondary light with a triangular gobo. However the reality is that this lighting is a lot easier than that; you only need one light. The lit half of the face is illuminated by a key light set at a 45-degree angle. The triangle accent is lit by that same main light, but gets its form from the harsh shadow cast by the nose intersecting with the shadow of the cheek. This gives us nice, crisp lines for the triangle, as highlighted in the image below:


To achieve this level of contrast, we're going to need direct light, rather than the soft, diffused light we are accustomed to. You can get direct lighting a few different ways:

  • A bare light
  • A light with a snoot
  • A light with a standard 7" reflector

We stepped outside of the studio for some fresh air, and out of curiosity, we checked if we could get the same results, using the sun as your light source:

You can use any light effectively, as long as you can control it. Outdoors, using the sun, is probably less than ideal, considering you can't move the sun, You can direct the model, however you still see everything in the background. A studio environment is ideal because you're essentially building your light set-up from a clean slate and it's great for practice. You can definitely see what each variable adds (or subtracts) from the scene as a whole. The more control you have over your lighting, the better the results would be.

In the studio, we used a PopSpot Ultra 100 Bi-Color LED so we could get a nice, focused beam of light.

What to Look Out For:

Know Your Angles

As in any lighting set-up, placement is key for getting the results you want. To get  that triangle underneath the eye, the position and angle of your light is incredibly important. For example:


While softer lighting set-ups are more forgiving with less pronounced shadows, it's not what we need to achieve traditional Rembrandt lighting. The light is likely too far in away from the subject and while it illuminates the left side of the model's face it also wraps around to the other side, which reduces the contrast we want for our Rembrandt triangle. (It's actually there if you look hard or increase the contrast, but far less pronounced than we need for this technique.) The photographer should always be mindful about how their shadows are thrown, and whether they are harsh or soft.


Here, we get the contrast and shadows we want, but the light was set was too far to the side, which gives us split lighting instead of our intended Rembrandt results. From this angle, the nose leaves the entire other side of the face in shadow, with little to no detail.

Once again, you don't want your light too far forward, but also not too far back. Somewhere in the middle is about what you want. Don't be afraid to move the light around until you get it just right. As for the height, it certainly does depend on the model on a case-by-case basis, but the general rule of thumb is that you want the light above your model and angled down toward the model's face:


No Detail in your Shadows? No Problem!

Lighting on the face is typically going to be the top priority when nailing a lighting set-up, but that's not the only component that matters. Sometimes you may want a very dramatic set-up with detail only on the face and that's fine, but there are a few traps to be aware of. When the model has dark hair or is wearing dark clothing, it's easy for those things to get lost in the background like in the right side of the image at the top of the model's head:

Adding a reflector to the side or rear of the your set-up can add some fill and bring dimension back to the subject, especially when the shadows get a tad too dark for your liking:

The kind of reflector you use can make all the difference, as white gives you a softer fill (left side), while the silver is much more intense fill by comparison (right side):

We hope you are inspired to experiment with Rembrandt lighting and share your results! Hashtag #fotodiox so we can see and share your work!

1 comment

Nov 04, 2020
chuck kimball

As I was told, Rembrandt did a lot work while living in a basement with a single street level window. I have always assumed that was a major factor in his lighting … The window was probably dirty which turned it into a soft box like we use today.. If that isn’t true, at least it makes a good story… goes back at least fifty years for me…

Leave a comment

Please note, comments need to be approved before they are published.